How to Put Braid on a Baitcaster
To put braid on a baitcaster, first attach the line to the spool using an arbor knot. Then, apply tension and wind evenly across the spool to prevent slippage and line digging.
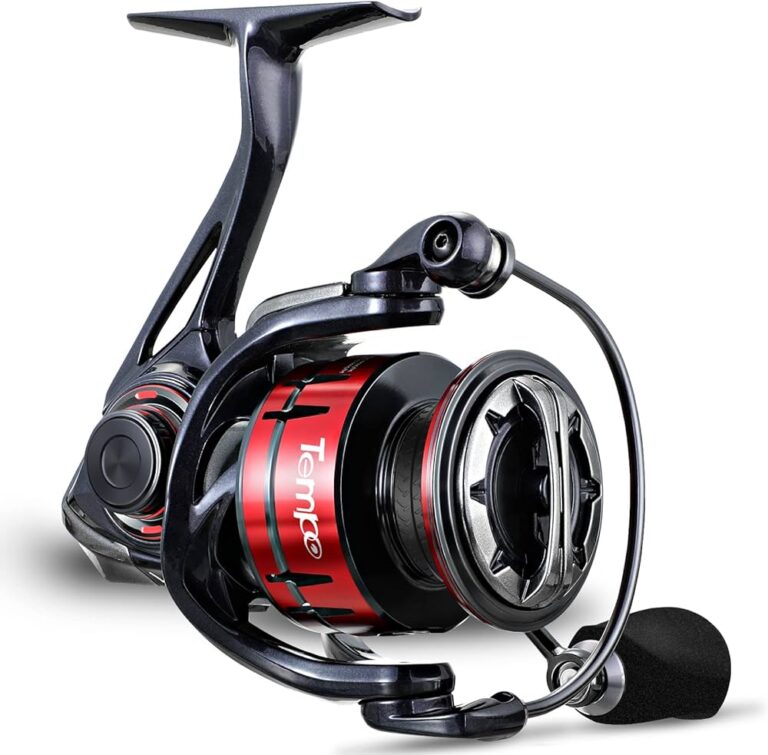
Baitcasting reels offer precision and power, making them a favorite among anglers targeting larger fish. Spooling a baitcaster with braided line can seem daunting, but it’s a simple process that can greatly enhance your fishing experience. Proper line installation is crucial for achieving the smooth, long-distance casts baitcasters are known for, as well as preventing the infamous backlash.
Braid provides superior strength, sensitivity, and durability, all while allowing for more line on the reel due to its thin diameter. Learning to put braid on your baitcasting reel correctly will make for a more efficient and enjoyable day on the water.
Credit: www.lafishblog.com
Introduction To Braided Line
Braided line has grown incredibly popular among anglers. Its benefits shine when paired with a baitcaster.
Superb strength allows for hauling big fish. The line’s thin diameter lets you spool more line.
Zero stretch ensures excellent sensitivity. You’ll feel every nibble. Plus, braid cuts through vegetation. Perfect for luring those hidden giants.
| Advantage | Benefit |
| Durability | Lasts many fishing trips |
| No memory | Lays flat, no kinks |
| Castability | Longer, smoother casts |
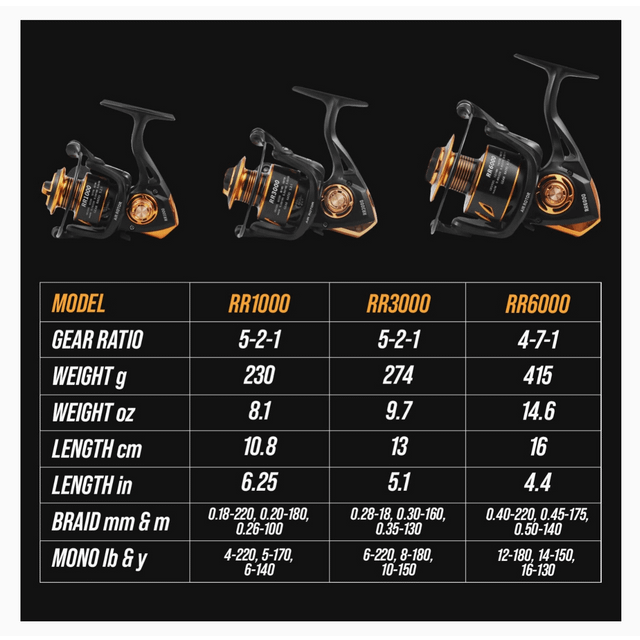
Selecting The Right Braided Line
To select the perfect braided line for your baitcaster, note a few key factors. Diameter affects casting distance and sensitivity. Pound-test rating indicates line strength; choose based on target fish. Consider color visibility for your fishing conditions; some blend with water, others stand out. Remember, line abrasion resistance is crucial in rough environments. A smoother line often means longer casts due to less friction. Make sure the line is compatible with your baitcaster to ensure optimal performance.
Tools And Materials Needed
Before loading braid onto a baitcaster, gather the right tools. You’ll need a sharp pair of scissors and tape. A spooling station or a pencil works too. Ensure to have your baitcasting reel, fishing line, and baitcaster rod ready.
Setting up is key for a smooth process. Clear a space for your equipment. Make sure the area is well-lit. Your tools and materials should be in reach for easy access. A stable workspace prevents tangles and accidents.
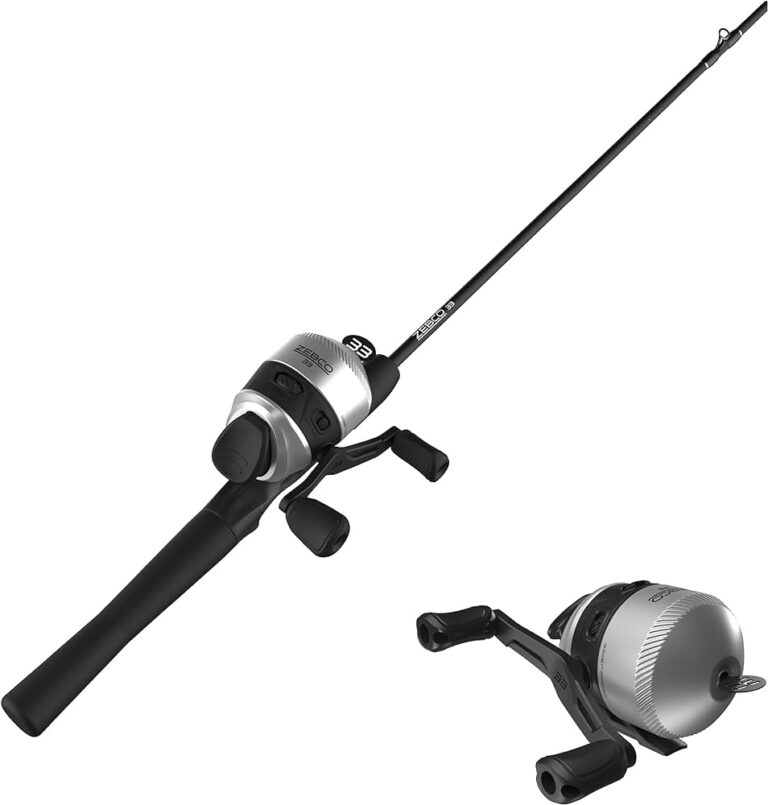
The Spooling Process
Attaching the braided line to your baitcaster is the first critical step. Begin by threading the line through the rod guides. Next, open the baitcaster’s bail and tie the line around the spool. Secure the knot and trim excess line. Make sure the tag end is short.
Spooling requires steady tension on the line; it prevents twists and ensures smooth casting. You or a partner should maintain pressure on the line, ideally with a cloth to avoid line damage. Spool the line by slowly turning the reel handle, keeping the line taut.
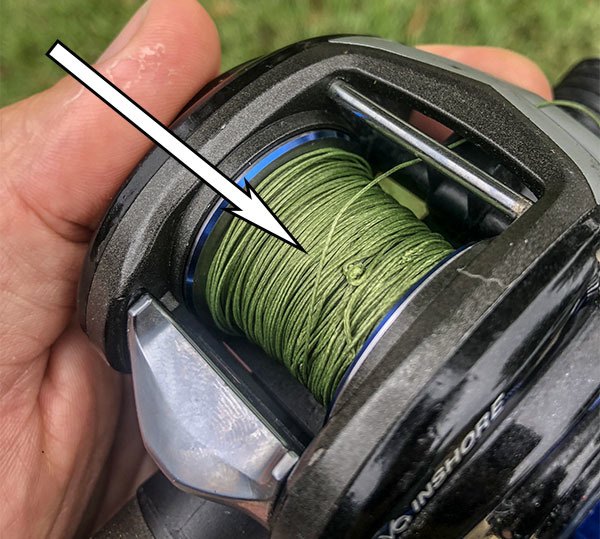
Filling the spool to the correct level is essential. Stop adding line before it reaches the spool’s edge. A simple thumb test can check the level. Leave an eighth-inch gap between the line and the spool’s rim. This prevents line from spilling over during casts.
Tips For Casting With Braided Line
Braided line requires specific adjustments on a baitcaster. Fine-tune the spool tension to ensure the line comes off smoothly. Begin by tightening the spool tension knob until it feels snug. Next, perform a drop test by pressing the thumb bar and allowing the lure to drop.
Adjust the cast control to manage spool speed during a cast. This will reduce backlash and tangles. A tighter control is good for short casts. Loosen it for long casts. Always match the brake setting to the weight of your lure.
Remember, braided lines have no stretch, which affects their behavior. Use a lighter touch and smoother motions.

Credit: www.youtube.com
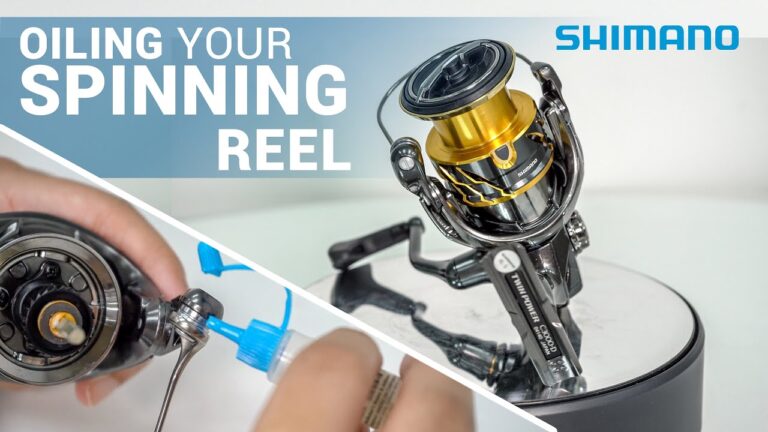
Maintenance And Care
To ensure your baitcaster stays in top shape, regular maintenance is key. Always clean your gear after use. Remove any debris and dirt with a soft cloth. Use freshwater to rinse your reel, especially after saltwater excursions. Let it dry completely before storing.
Lubrication is crucial for smooth operations. Apply oil to the reel’s moving parts. But, use only a few drops to avoid collecting dirt. Twice a year, disassemble your reel for a deep clean. Professional servicing is advisable every few years for best performance.
Replacing your braided line depends on usage and care. Check the line before trips. Look for frays or weak spots. A simple way is to run the line through your fingers. Any noticeable wear means it’s time for a new line. Even without visible damage, replace your line every one to two years.
Credit: www.lafishblog.com
Frequently Asked Questions Of How To Put Braid On A Baitcaster
How Do You Attach A Braid To A Baitcaster?
To attach a braid to a baitcaster, thread the line through the guides, tie an arbor knot around the spool, and secure it. Trim any excess line before closing the bail and winding the braid onto the reel with even tension.
Do You Need Backing For Braid On Baitcaster?
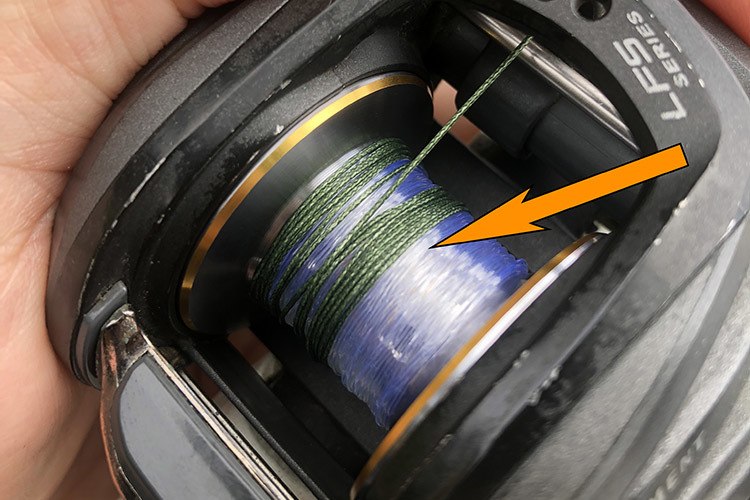
Yes, using backing for braid on a baitcaster is recommended to prevent line slipping on the spool. This enhances casting performance and line security.
What Is The Best Knot To Tie Braid To A Baitcaster?
The best knot for attaching braid to a baitcaster is the Palomar knot. It’s renowned for its strength and simplicity.
How Do You Put New Line On A Baitcaster?
Start by threading your line through the rod guides. Tie the line to the baitcast reel spool using an arbor knot. Hold the line with tension and slowly turn the handle. Fill the spool to about 1/8 inch from the rim, ensuring the line lays evenly.
Conclusion
Mastering the skill of spooling braid onto your baitcaster sets you apart as a proficient angler. Utilizing the steps outlined in this post, your setup can handle those trophy-worthy battles. Grab your gear, follow our guide, and make every cast count.
Tight lines and happy fishing!